In this first tutorial I will be using V-Ray Beta version 1.48.99 (V-Ray for SketchUp User Manual Version 1.48) and SketchUp version 7.0. I will be focusing on IES, Spotlight, Rectagular and emissive lighting. You will learn how to create a realistic lampshade material and how to position the rectangular lights to achieve the right effect for your shade. In this tutorial I will be using the same model that I used in the previous tutorial “Interior Lighting for Beginners” and will be adding components and materials to achieve the desired effect.
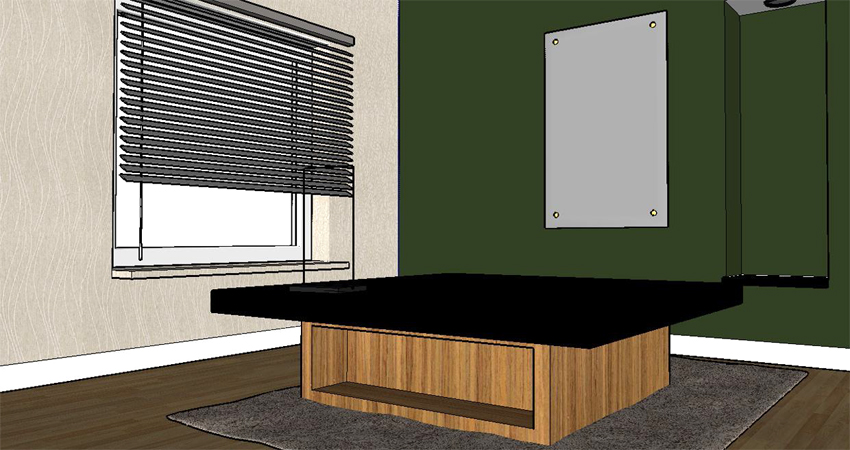
Here is a screen shot of the particular interior that I will be using.
OK lets begin!
1. IES Lighting
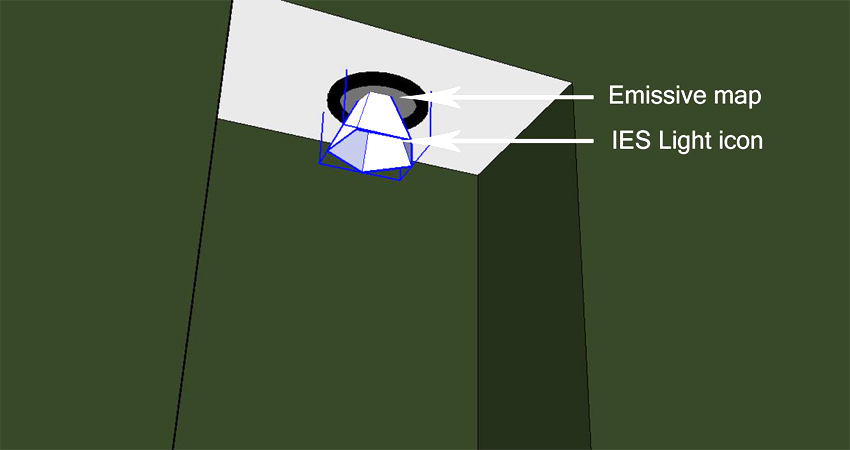
I have done this in a previous tutorial here at SketchUpArtists: Basic IES Tuorial using V-Ray for SketchUp. The only difference is instead of using a rectangular light to show the light source, I will be just using a Emissive map.
Here is the material I used for the Emissive map.
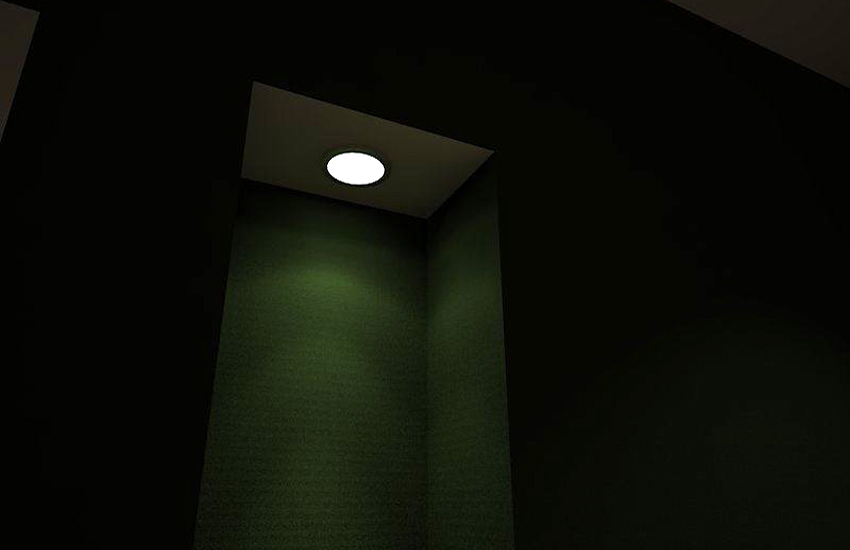
This is the first render.
2. Spotlight
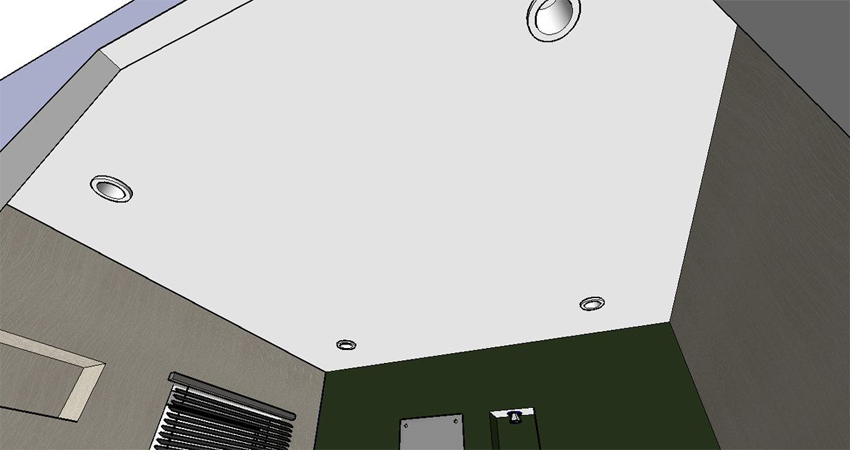
Together with IES lighting, this is also a new feature with V-Ray 1.48.66 and up. Since this is a tutorial, allow me to put 4 spotlights in my four recess lamps.
The Image below shows the position of the Spotlight icon. I also use a Emissive map on the light receptacle.
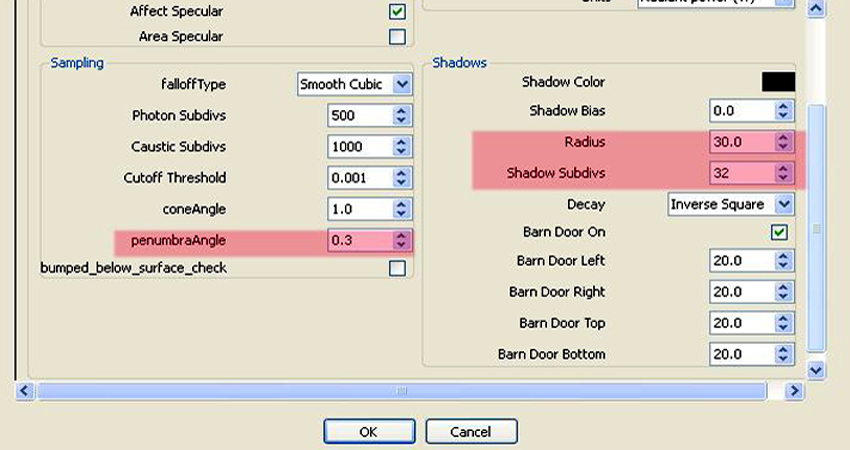
Here is the settings for my Spotlight. For me the most critical setting is the Shadow Radius which controls the softness of the shadows, Shadow Subdivision controls the smoothness of the shadow and last but not the least is the Penumbra Angle. In the image below I used 0.3.
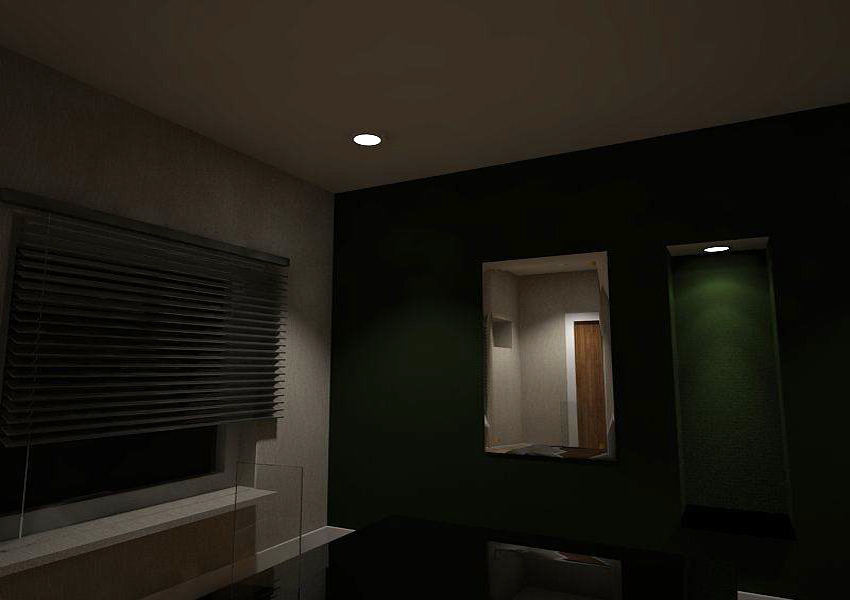
Here is the render using Spotlight. In this render I used a very low resolution. This is the reason why I have splotches and grains. This can be corrected easily by using higher Subdivisions and Samplings.
3. Lampshades
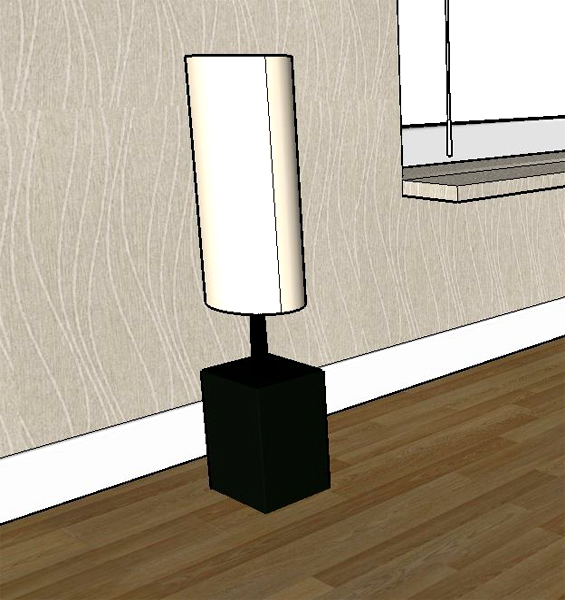
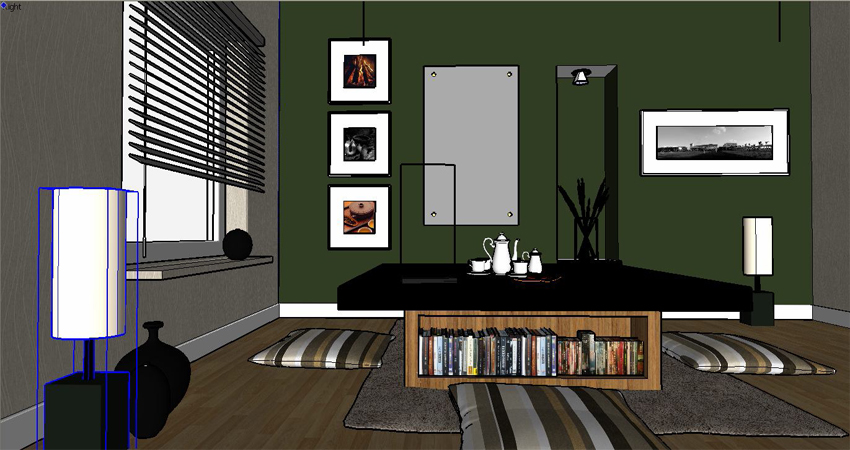
Here is a simple lamp I modeled in SketchUp. I will show you how to place V-Ray rectangular lights.
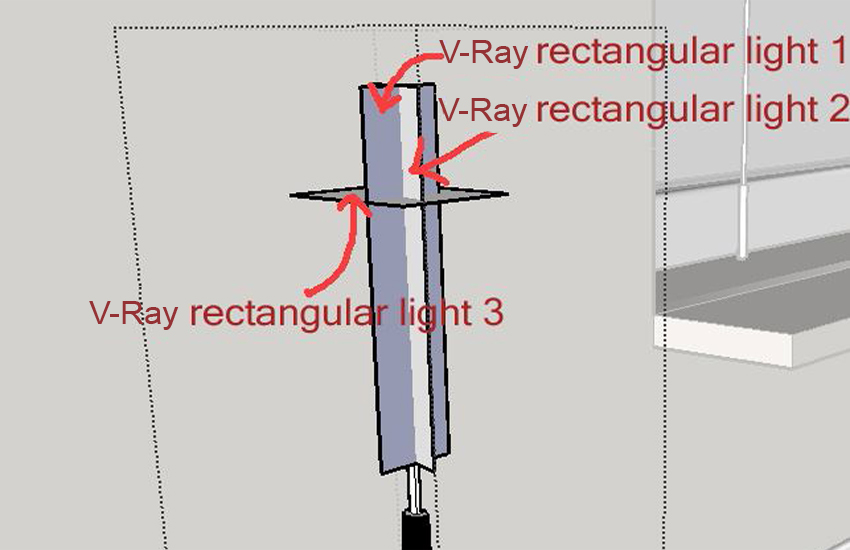
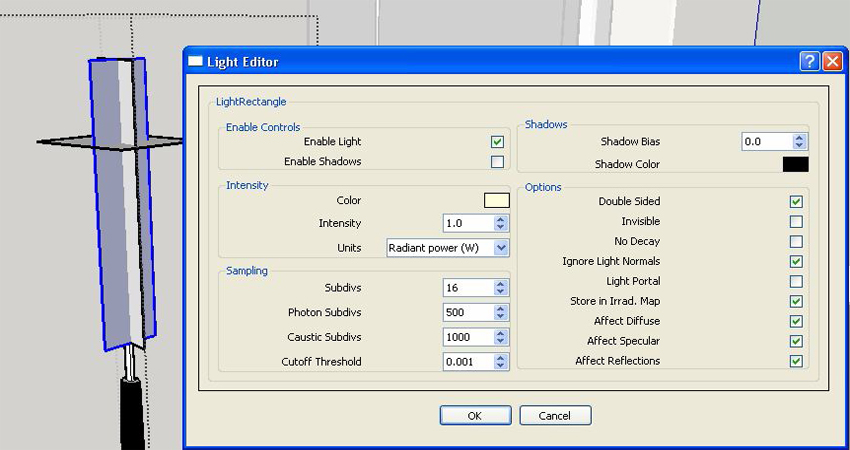
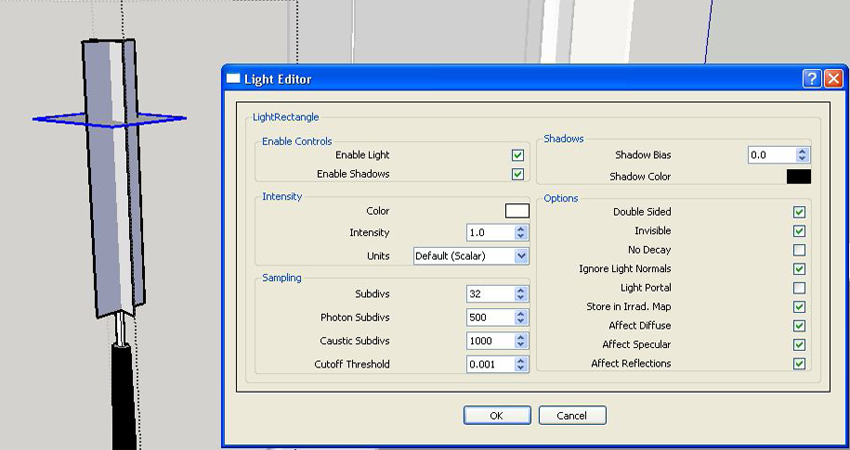
Here I hid the shade of my lamp to show how I set up my rectangular lights. V-Ray rectangular 1 and 2 run along the height of the shade. They are double sided, visible but they don’t cast shadows. The one that casts shadows is the third V-Ray rectangular light. This one casts shadows, double sided but I made it invisible.
Here are the settings of my V-Ray rectangular lights.
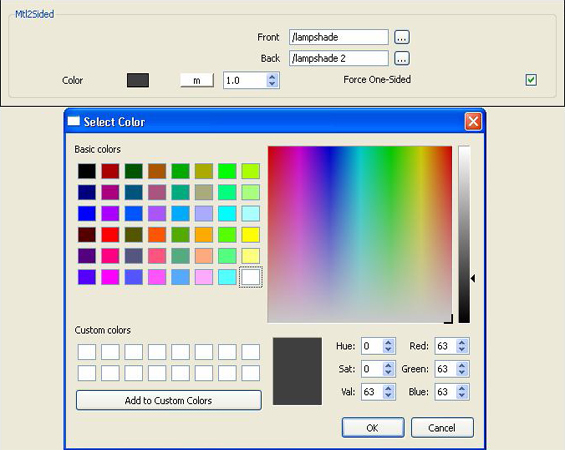
Lampshade material: This is a 2 sided material with about 70% gray mixture.
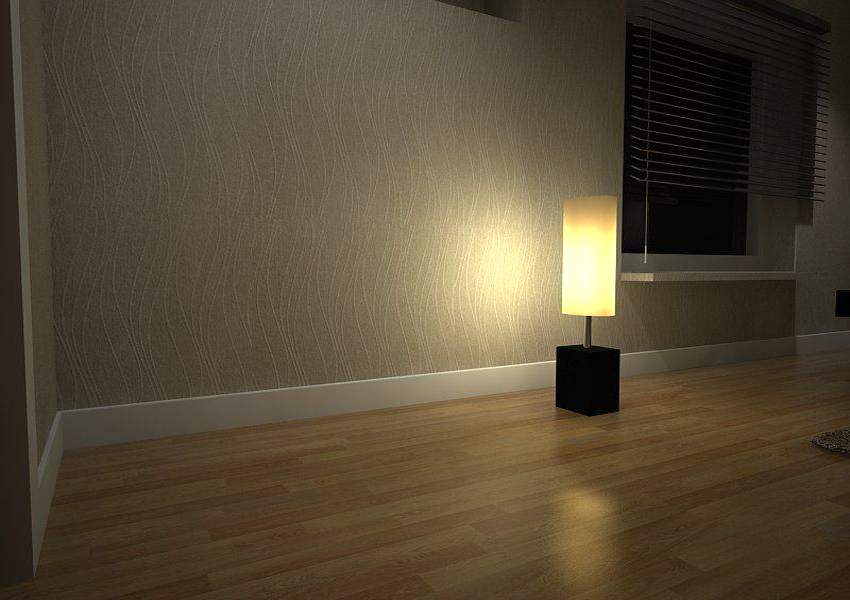
Here is the resulting render.
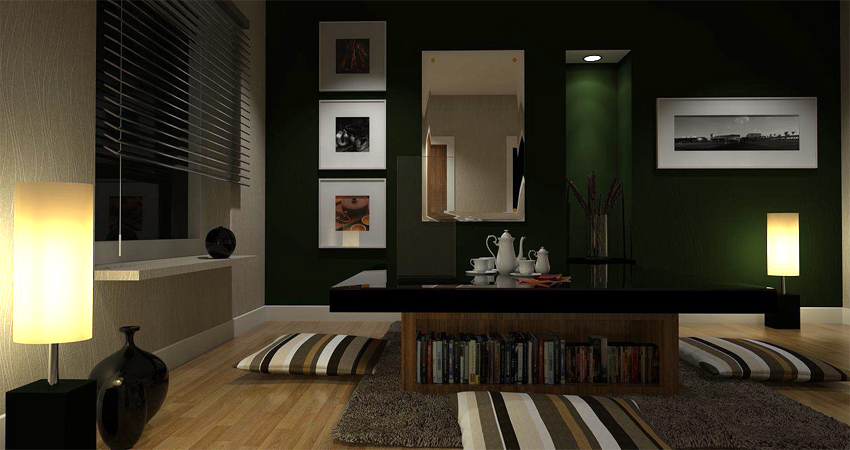
Lastly, I will add a few more components. A special thanks to a friend BTH (Trang An) for some of these great components.
Here is the render.
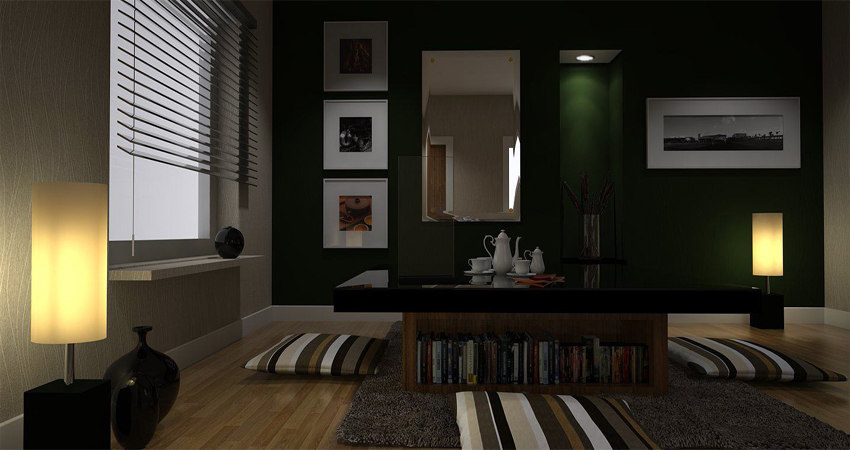
I also attempted to render with the same scene, this time with GI and BG Colors on (no mapping).
Cheers! I hope you will wait for the second part of this tutorial and my guide to lighting with V-Ray for SketchUp.








0 komentar:
Posting Komentar