Shaderlight Pro: render an evening office
The right lighting can transform the look of any interior scene; Shaderlight uses physically based lighting features and advanced global illumination techniques that can give your visualisation that extra edge.
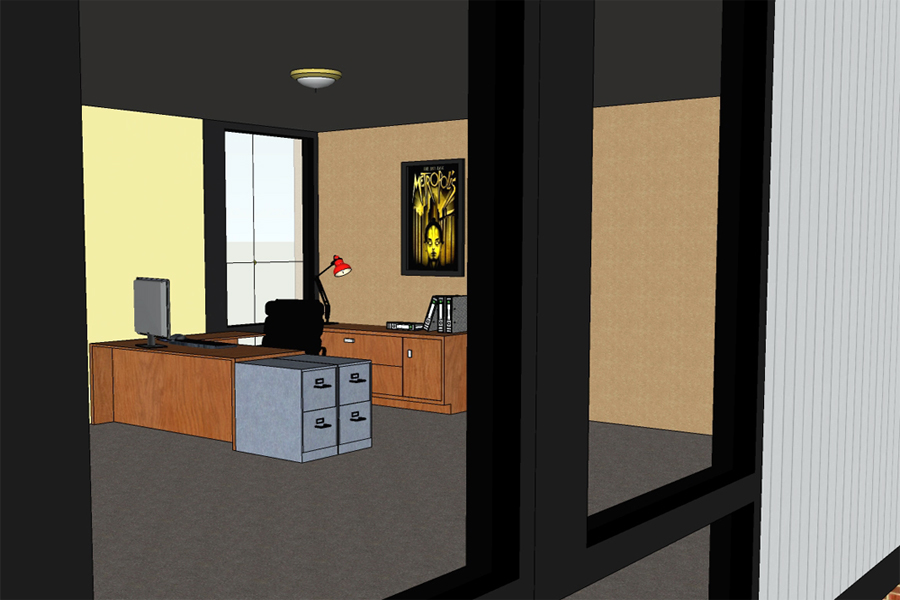
The simple office scene below has been created in SketchUp using models downloaded fromGoogle’s 3D Warehouse, but you can use your own too. Here are some links to a few of the models used in this tutorial to get you started with this introduction to lighting in Shaderlight:
- Red Angle Lamp
- Flat Screen Computer
- Softpad Executive Chair
- Office Filing Binders
- Assorted Filing Cabinets
You can source the rest or similar furniture models and artwork at the 3D Warehouse. Lets’ get started!
Step 1
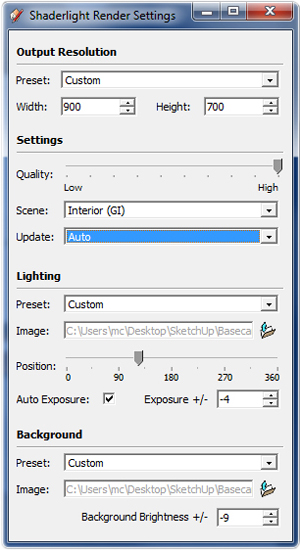
Set the scene to ‘Interior’ in the Shaderlight Render Settings menu so that Global Illumination is turned on. This makes the lighting in the room much more realistic.
Shaderlight’s skylight portal lights at the window have brought some light in to the room using the HDR environment placed in the scene.
Step 2
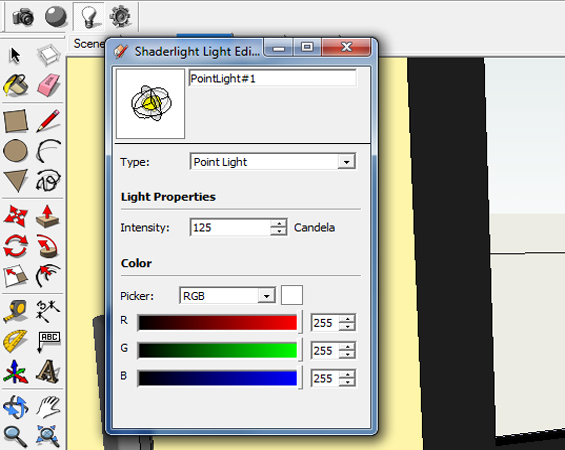
We are going to transform the light in this scene using some of the different lighting options we have in Shaderlight. The first light we are going to put in to the room is going to be a point light which is going to simulate the light from a light bulb. To do this click on the light bulb icon on the Toolbar. This opens the Shaderlight Light Placement Tool.
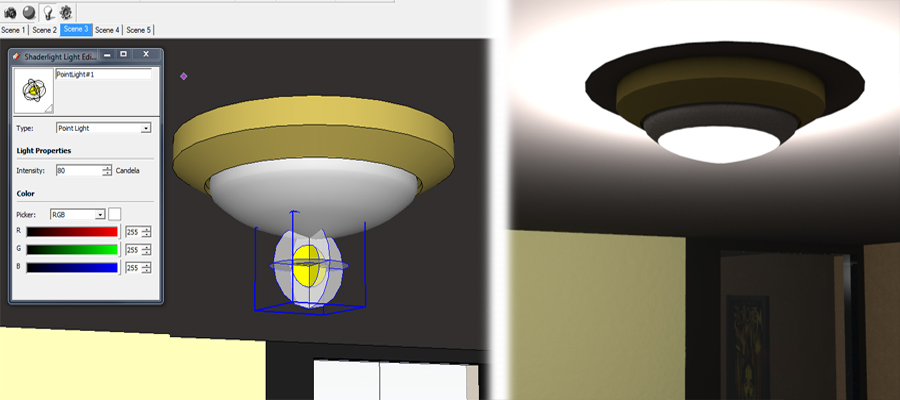
The default light is the Point Light which we are going to place just under the ceiling light. To position it, a single click on the location required. SketchUp now displays the point light icon to show the position of the light. We can adjust the intensity of the light but I’ve set this as 125 Candela, which roughly is the value of a 100 Watt tungsten light bulb.
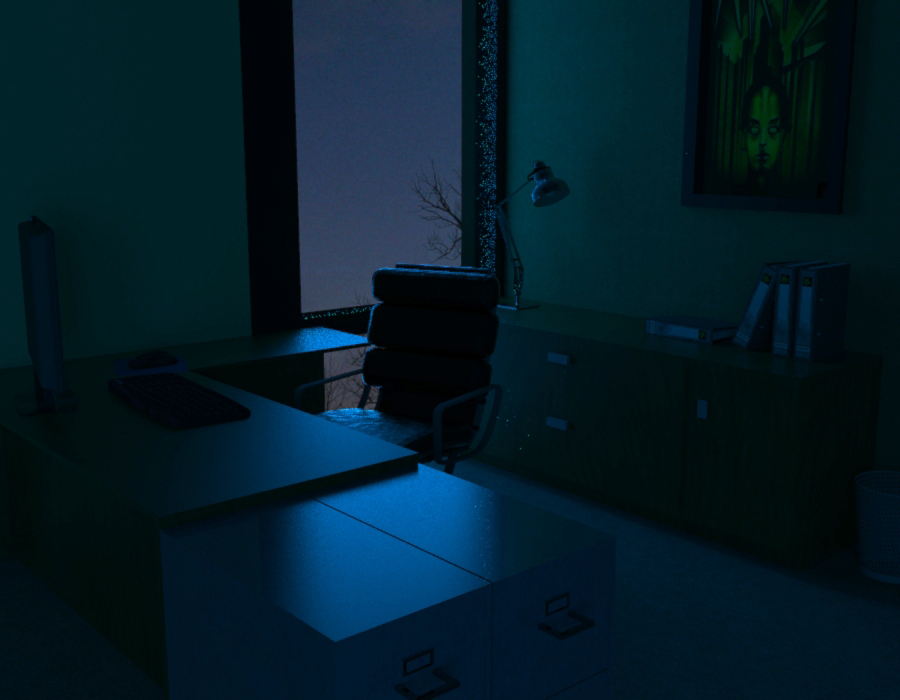
Here is the Point light in the scene and the scene rendered with the light on.
Step 3
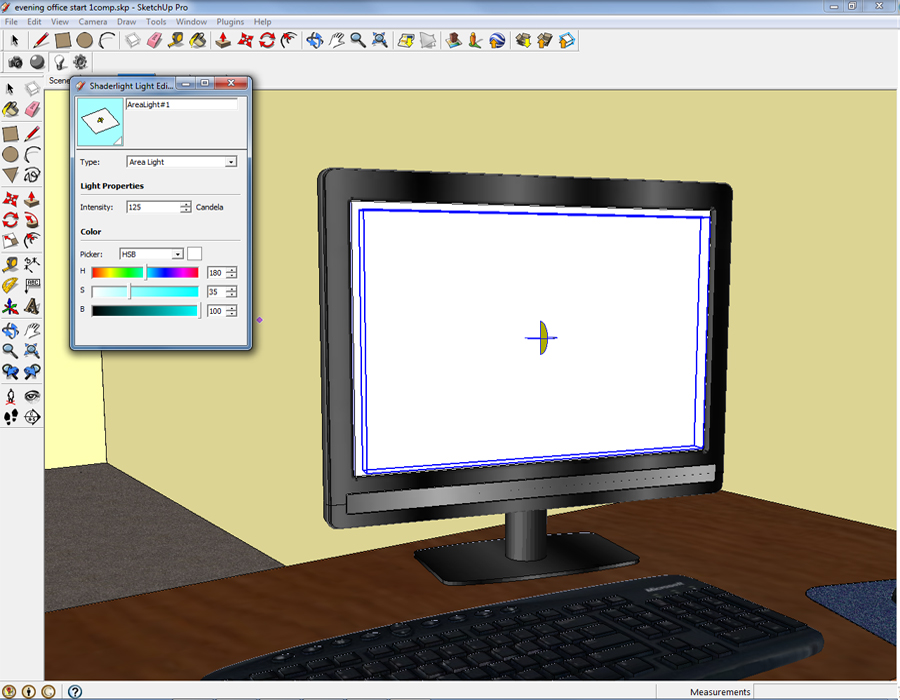
Next, we are going to illuminate the computer monitor so that it appears switched on. In the Shaderlight light editor, we need to select ‘Area Light’. Area lights are rectangular light sources that produce light from the whole area of the rectangle and also produce soft shadows. To place an area light we draw a rectangle as we would in SketchUp. First click to specify the start point of the rectangle, an orange line displayed will specify the direction of the area light. The second click places the area light. The direction of the light is shown with a semi circle in the centre of the icon. While the component is highlighted we can edit the colour of the light to simulate an LCD screen. I am going to select HSB from the color options and then select a light blue from the Hue slider (H) and then increase the Saturation (S) to be a light blue.
Step 4
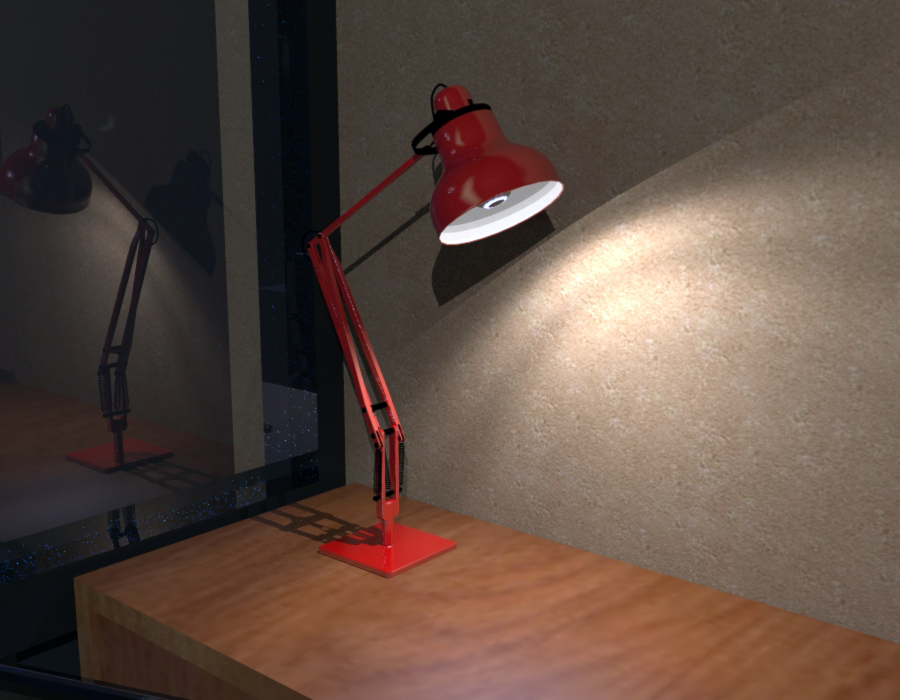
The final light we will place in the scene is a light in to the angle lamp. For this we will use an IES Web Profile Light. An IES Light is an easy way of simulating a real world light in your Shaderlight render as they use accurate digital profiles taken from actual light sources. IES files can usually be downloaded freely from manufacturers’ web sites. Select IES Web Profile Light in the Shaderlight Light Editor and you can then browse to your downloaded IES file Place the IES light with two clicks; The first to select the location of the IES light and the second to select the point at which the light is aiming. The intensity of the IES light is defined in the IES file itself (remember that the IES file is created by physically measuring the output of real light sources), so the light is displayed at the correct brightness. You can dim the light from its full intensity by specifying a percentage reduction. SketchUp now displays the IES light icon, and we can see the light profile on the wall.
Step 5
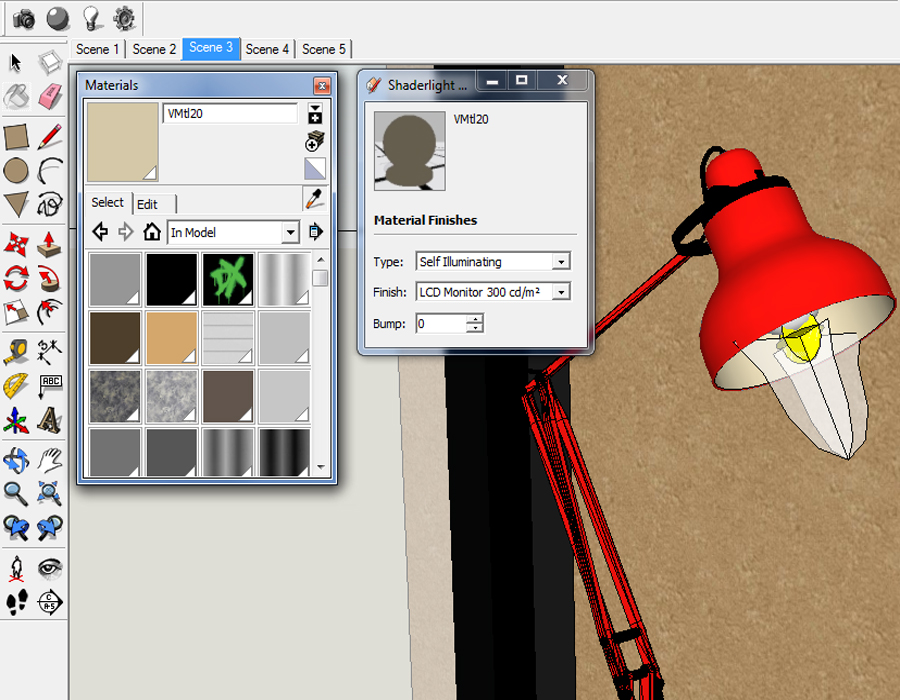
Although we’ve placed the IES light in our model, it doesn’t look realistic as there is no light coming from the inside of the shade or the bulb. This effect can be achieved by setting the material of the bulb and the inside of the shade as a Shaderlight Self Illuminating material. Self illuminating surfaces don’t emit any light into the scene to illuminate other objects but will simulate a material emitting light. Select the material of the bulb and the inside of the shade, then open the Shaderlight material editor and from the ‘Type’ dropdown select ‘Self Illuminating’. The light intensity of this material can then be selected from the ‘Finish’ dropdown. I am setting this value to roughly the same as an LCD monitor.


0 komentar:
Posting Komentar